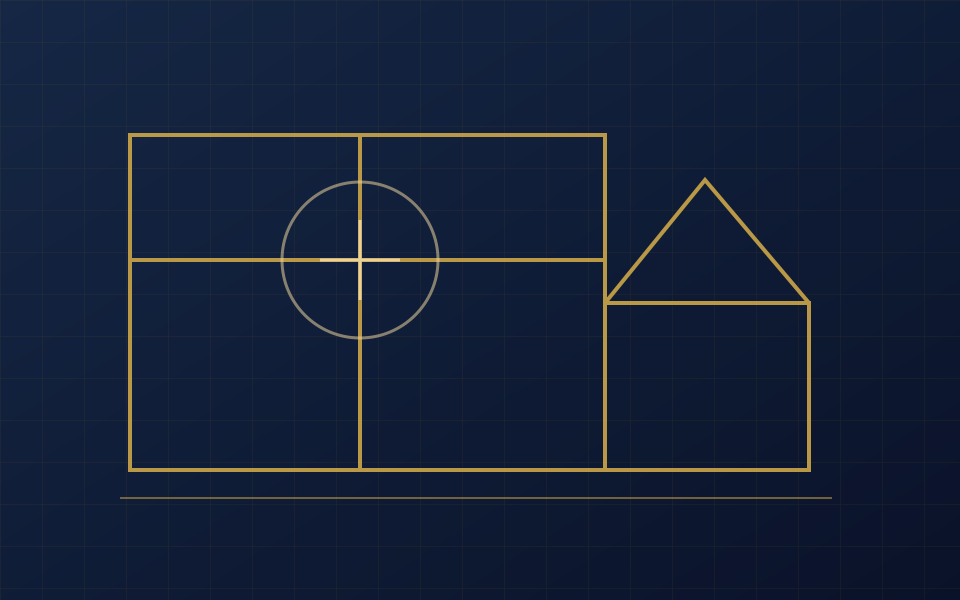
The filled joint profile explains the coverage difference
Grout coverage is the tiled area a stated quantity of a particular grout can fill under defined joint conditions. Beveled, cushioned and irregular tile edges can change those conditions even when the plan area and spacer size stay the same. The useful measurement is the cavity beneath the approved grout surface, including any part of the edge profile that the grout actually fills.
Use the Grout Calculator to record the rectangular-grid baseline: tiled area, tile length and width, joint width and filled depth. The worksheet does not trace a rounded or sloping edge. Preserve that limitation when comparing its volume with a manufacturer’s coverage table or a trial on the selected tile.
LATICRETE’s TDS 400 grout guide explicitly warns that coverage can vary considerably with cushion-edge or wave-edge tiles and changing joint widths. That is a documented reason to check geometry before adding a general waste percentage. It does not supply one correction factor that applies to every beveled product.
Separate body spacing from the opening at the tile face
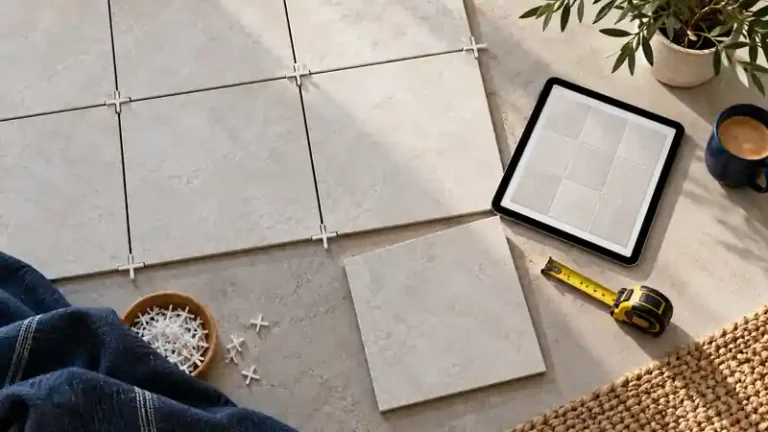
A spacer describes the gap where it contacts the tile; the visible opening can be wider where two edges slope away. Record both locations on a simple joint-section sketch. Identify the tile product, actual dimensions and the measuring position so another person can reproduce the reading without choosing a different point on the bevel.
Check several representative joints, including tiles from the delivered batch and the intended layout. An irregular edge can produce a range of openings along one joint. Record that variation instead of substituting the widest visible gap for every millimeter of filled depth. Conversely, a narrow body gap alone can understate a cavity that widens toward the grout finish.
Confirm whether the tile dimensions used in a repeating-grid estimate are actual face or body dimensions and whether the quoted module already includes the joint. Counting the joint twice changes the modeled pattern. Keep mixed tile sizes, borders and mosaics on separate worksheets when their joint geometry differs.
Confirm the finish level before measuring depth
Filled joint depth runs from the prepared bottom of the grout cavity to the specified finished surface. It is not automatically the tile’s full thickness. Adhesive within the joint, a recessed finish and the tile edge all affect that space. Refer preparation and finish questions to the tile and grout instructions before making the takeoff.
LATICRETE’s grout guide distinguishes its general near-level finish from cushioned-edge tile finished to the cushion depth, and notes a separate epoxy-grout finish qualification. Use the instructions for the actual product and assembly. Filling an edge higher merely to match a quantity calculation can change the intended appearance and performance.
If adhesive obstructs joints or the approved finish is unclear, resolve the installation issue before ordering from a guessed depth. Do not prescribe a removal depth from an unrelated regrouting example. Record the accepted preparation, section measurements and trial finish with the estimator’s assumptions so a later installer does not unknowingly change them.
Compare cross-sections without inventing a bevel factor
For a constant joint section, fill volume equals cross-sectional area multiplied by joint length. Use compatible units: 1 mm² carried along 1 m equals 1 mL. A hypothetical rectangular cavity 3 mm wide and 8 mm deep has a section of 24 mm², so one meter holds 24 mL before installation losses.
Suppose an approved hypothetical profile instead has a lower rectangle 3 mm wide and 6 mm deep, plus an upper 2 mm that widens linearly from 3 to 7 mm. The lower area is 18 mm². The upper trapezoid has area (3 + 7) ÷ 2 × 2 = 10 mm². The total is 28 mm², or 28 mL per meter.
| Hypothetical section | Area (mm²) | Volume along 1 m (mL) |
|---|---|---|
| Uniform 3 mm × 8 mm | 24 | 24 |
| Lower 3 mm × 6 mm rectangle | 18 | 18 |
| Upper 2 mm trapezoid, widths 3 and 7 mm | 10 | 10 |
| Combined shaped cavity | 28 | 28 |
For the same total joint length, 28 ÷ 24 gives about 16.7% more cavity volume. This is a geometric sensitivity example, not a recommended tile finish or universal ordering uplift. Whole-floor estimates must also account for intersections, boundaries and the actual layout. A local section comparison cannot by itself establish a product’s whole-bag coverage.
Use product yield and a representative trial for the order
LATICRETE’s cement-grout planning FAQ describes coverage as approximate and identifies actual width, depth, tile type, site conditions and installation method as variables. Use the exact grout’s published table with matching dimensions where possible. A table for another product or a square-edge assembly is evidence for different conditions.
Where shaped edges make the estimate uncertain, ask the manufacturer or installer to approve a representative trial and a way to measure consumption. Record the accepted tiled area, joint profile, product quantity mixed and usable material left. Distinguish cavity fill from grout left in the mixing container, material on the tile face and cleaning loss.
Compare the Grout Calculator volume with the applicable mixed yield in liters per package. Enter yield only when the product data supports it. A kilogram value is mass and cannot be substituted for liters. If the manufacturer provides area coverage instead, retain its stated tile and joint assumptions and reconcile the trial to those conditions.
Keep procurement reserve separate from a geometric correction
A larger cavity and installation loss are different causes of higher consumption. Correcting the profile and then adding a percentage already embedded in the trial can count the same demand twice. State what any additional reserve covers, such as an agreed repair stock quantity. Round to the verified purchase unit after establishing the requirement; keep an unopened reserve separate from material mixed for the work.
Investigate a shortage before repeating the same order
When grout runs short, compare the installed work with the original inputs. Has the joint widened, the finish changed or the tile size varied? Did a wall, border or second product get included after the estimate? A short record of the changed condition is more useful than assuming the supplier filled each bag incorrectly.
- Photograph the actual edge and accepted grout finish with a scale.
- Record body gap, filled depth and any widening within the filled section.
- Separate different tiles and layouts before combining order quantities.
- Retain the exact grout data, package and trial consumption basis.
- Explain each reserve or loss adjustment once.
Use the Grout Calculator for the verified uniform-joint baseline, then keep the profile sketch and manufacturer or trial adjustment beside the result. The final record should explain both the estimated cavity and the actual product quantity ordered, with unresolved geometry checked before another batch is mixed.